
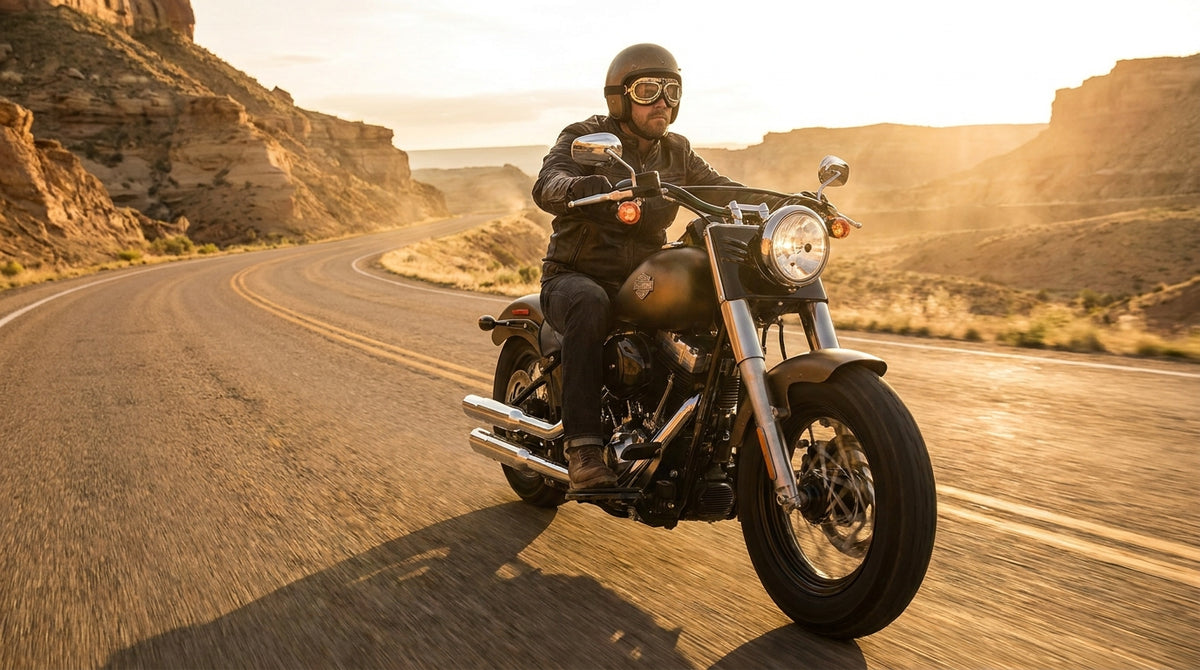
You spot a pair of round copper-framed goggles at a bike meet and suddenly your open-face helmet looks incomplete. That split-lens aviator shape has been turning heads since WWI pilots first strapped them on at 10,000 feet. But the market is packed with cheap pairs that fog up in five minutes or crack on the first hot day. Picking the right aviator goggles means knowing exactly what separates the good from the junk.
This guide covers aviator goggle styles, lens tints, frame materials and fit. You will know which pair matches your riding setup, which lens color works for your conditions, and which common mistakes to avoid before you spend a dollar.
What Sets Aviator Goggles Apart from Standard Riding Goggles
Standard motorcycle goggles use a single-piece wraparound frame, usually injection-molded polycarbonate. Aviator goggles use a split-lens design with two separate round lenses set in metal or ABS frames. That two-lens construction gives them the classic pilot look that never went out of style.
The padding is different too. Most aviator pairs use a soft foam or leather face seal instead of rigid rubber. Genuine leather conforms to your face over time, similar to how a leather jacket breaks in after a few rides. Cheaper models use PVC that cracks after one season of sun exposure.
Weight runs lighter than most riders expect. A typical pair sits between 150 and 200 grams, roughly the same as standard safety glasses. The adjustable elastic strap fits over most open-face and half-shell helmets without digging into your temples. If you ride with a half helmet or a retro open-face lid, aviator goggles fill the eye-protection gap that a full visor would normally cover.

Vintage, Retro and Modern: Three Aviator Styles Compared
Not all aviator goggles look the same. The market splits into three distinct styles, and each one suits a different bike and riding personality.
| Style | Frame | Padding | Best For | Price Range |
|---|---|---|---|---|
| Vintage | Brass or copper | Real leather | Bobbers, classic Harleys | $25 - $45 |
| Retro | Chrome-plated steel | Faux leather or foam | Cafe racers, cruisers | $20 - $35 |
| Modern | ABS plastic | Ventilated foam | Daily commuters | $15 - $30 |
Vintage aviator goggles lean into authentic materials. Real copper frames develop a natural patina over months of use, and they pair perfectly with bobbers and classic Indian builds. The Vintage Aviator Motorcycle Goggles at ALR use a copper frame with padded leather that softens after two or three rides. The downside of real metal: slightly heavier and more expensive than plastic.

Retro aviator goggles split the difference. Chrome-plated frames look sharp without the price tag of raw brass. Most retro pairs include UV400 lenses and foam padding that stays comfortable on rides over an hour. If you ride a cafe racer or vintage-styled bike, retro is the sweet spot.

Modern aviator goggles use lightweight ABS frames and ventilated foam. They sacrifice some old-school charm for practical features like anti-fog coatings and better airflow. If you ride daily in mixed weather, modern is the practical pick. They weigh as little as 120 grams and dry faster after rain.
Lens Tints: What Each Color Actually Does for Riding
Lens color is not just cosmetic. Each tint filters light differently, and the wrong choice for your conditions will strain your eyes before you hit the highway.
Clear lenses let about 90% of visible light through. They are the default for night riding and overcast days. No color distortion, no contrast boost. If you only own one pair of goggles, clear is the safest all-around pick.
Yellow or amber lenses block blue light and increase contrast by roughly 15% in flat gray conditions. They sharpen the outline of potholes and road seams that wash out under cloudy skies. Morning commuters and evening riders benefit most. They are not dark enough for bright midday sun, so keep that in mind.

Smoke or gray lenses cut light transmission down to about 15 to 20 percent. They reduce overall brightness without shifting colors. This is the standard choice for sunny-day riding across open highways where glare is constant.
Mirrored or silver lenses add a reflective coating on top of a tinted base. They cut glare from oncoming traffic and wet pavement better than plain smoke. The mirror finish also hides your eyes, which some riders prefer. Silver mirrored lenses typically block about 85% of visible light.

Frame Materials: Leather Padding vs Foam and Why It Matters
The frame itself is usually ABS plastic, chrome-plated steel, or raw copper. Pick based on the look you want and what you are willing to maintain.
Copper and brass frames oxidize over time. Some riders like the patina because it adds character. A thin coat of Renaissance wax every few months stops oxidation if you want a clean look. Real metal frames hold up well to impacts and tend to outlast plastic if maintained.
ABS plastic frames weigh less and resist corrosion completely. They will not develop that aged character, but they handle rain and sweat without any upkeep. For daily riders who want zero-maintenance gear, ABS is the practical choice.
The padding is where comfort lives or dies. Genuine leather face seals last longer and breathe better than closed-cell foam. Leather wicks moisture instead of trapping it against your skin. A good leather pad feels firm on first wear and softens within two or three rides.
Foam pads are softer out of the box and cost less upfront. The tradeoff: foam compresses over time and loses its seal against your face. Budget foam pads typically flatten noticeably after 6 to 12 months of regular use. If you ride more than twice a week, leather padding pays for itself in longevity.

Can You Wear Aviator Goggles Over Prescription Glasses?
This is one of the most common questions riders ask about goggles. The short answer: some aviator goggles fit over glasses, but most standard pairs do not have enough depth.
Look for models with extra depth in the eye chamber, sometimes labeled "OTG" (over-the-glasses). You need at least 12mm of clearance between the goggle lens and your face to fit most prescription frames underneath. Anything less and the frames press against your nose bridge or push the goggles away from your face, breaking the seal.
Another option is prescription inserts. Several aftermarket brands make clip-in prescription carriers that mount behind the goggle lens. They typically add $40 to $60 to the total cost but eliminate the bulk of wearing two frames at once.
If your prescription is mild, under plus or minus 2.0 diopters, contact lenses paired with standard goggles work well. For stronger prescriptions, OTG-specific models or inserts are the safer bet. Check the goggle specs for internal depth measurements before ordering.
How to Stop Aviator Goggles from Fogging Up Mid-Ride
Fogging kills visibility fast. It happens when warm air from your face hits a cooler lens surface. The fix is airflow, and the right pair handles it for you.
Look for goggles with ventilation channels cut into the frame near the top and bottom of each lens. These small openings create a passive airflow that clears moisture as you ride. At speeds above 20 mph, the airflow is usually enough to keep lenses clear.
For stop-and-go city riding where airflow drops, an anti-fog coating makes a real difference. Some lenses come pre-treated. For untreated lenses, a product like Cat Crap anti-fog balm (yes, that is the real name) costs about $8 and lasts 20 to 30 applications per tin.
One trick that works: crack the goggles slightly away from your face at red lights. This lets warm air escape instead of pooling against the lens. Push them back flush when you start moving. It takes two seconds and prevents 90% of fogging in city traffic.
Four Common Mistakes When Buying Aviator Goggles
1. Buying based on looks alone. A pair that looks great on a mannequin might have zero ventilation channels. Without airflow, the lenses fog up within five minutes of riding. Always check for vents or an anti-fog coating before buying.
2. Ignoring UV protection. Not all tinted lenses block ultraviolet rays. A dark lens without UV400 certification is actually worse than no goggles at all. Your pupils dilate behind dark tint, letting in more unfiltered UV. Look for "UV400" on the spec sheet. Every pair in the ALR aviator collection carries UV400 as standard.
3. Getting the wrong strap tension. A fixed elastic strap that is too tight creates pressure points on your temples after 30 minutes. Too loose and the goggles shift on every bump. Look for a sliding buckle adjustment rather than a simple elastic loop. Adjustability matters more than strap width.
4. Skipping the fog test at home. Before your first real ride, put the goggles on indoors and breathe normally for two minutes. If the lenses fog up, you need different ventilation or an anti-fog treatment. Better to find out in your garage than at 60 mph on the interstate.
Finding the Right Pair
Aviator goggles are one of those pieces of riding gear where quality and style genuinely overlap. A well-built pair protects your eyes from wind, debris and UV, looks right on the bike, and lasts for years if the materials are solid. The difference between a $12 pair that cracks in a month and a $27 pair that holds up season after season comes down to the frame, the padding and the lens coating.
If you are ready to pick a pair, the aviator goggles collection has vintage copper, retro chrome and tinted lens options starting at $26.95. Every pair ships with UV400 lenses and an adjustable strap that fits over open-face and half-shell helmets.


No comments yet. Be the first rider to weigh in.