-
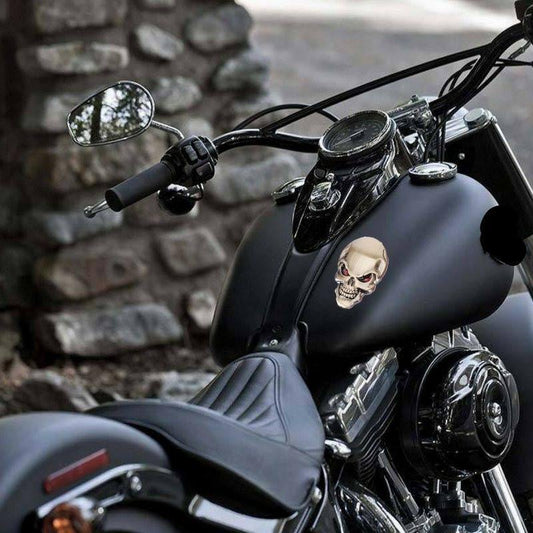
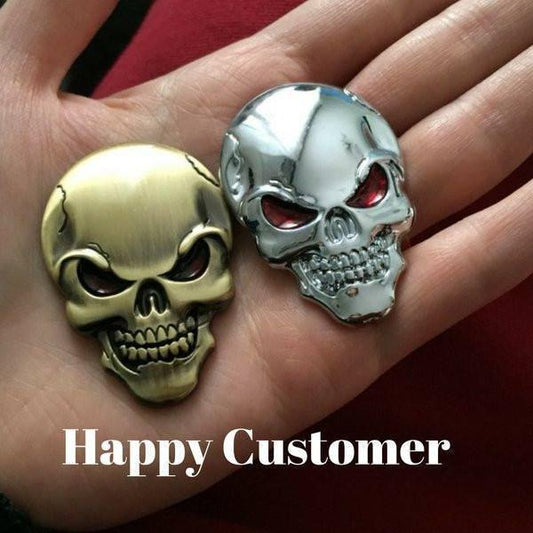
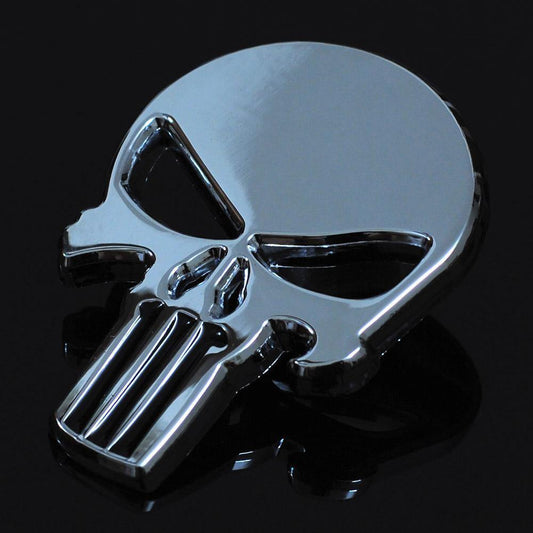
3D Skull Metal Sticker, Zinc Alloy, 2 x 1.3 in
Regular price $14.95Regular price $14.95 Sale priceUnit price per$19.9525% -
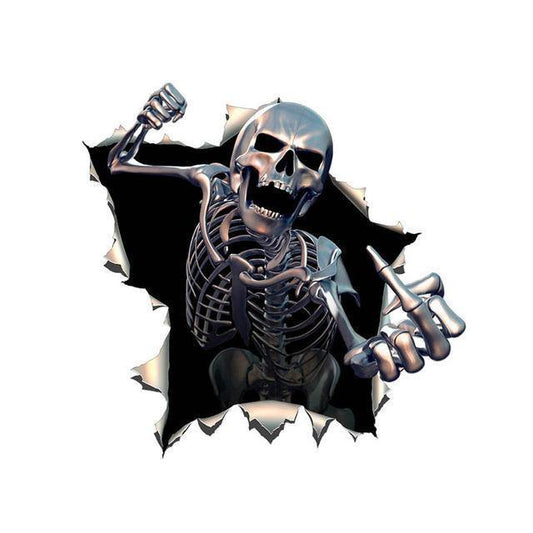
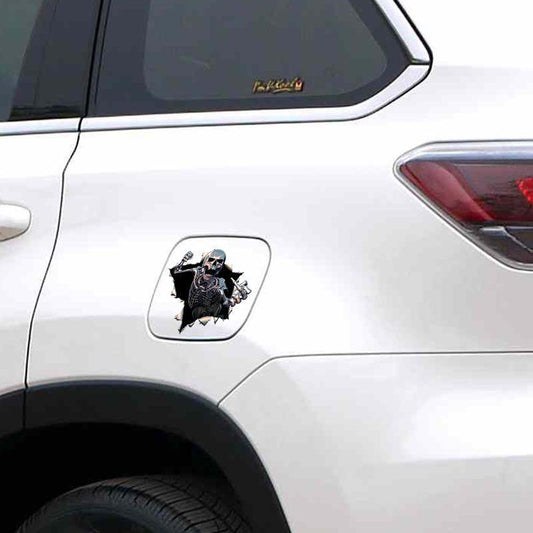
3D Metal Goth Skull Waterproof Decal Sticker
Regular price $19.45Regular price $19.45 Sale priceUnit price per$29.9535% -
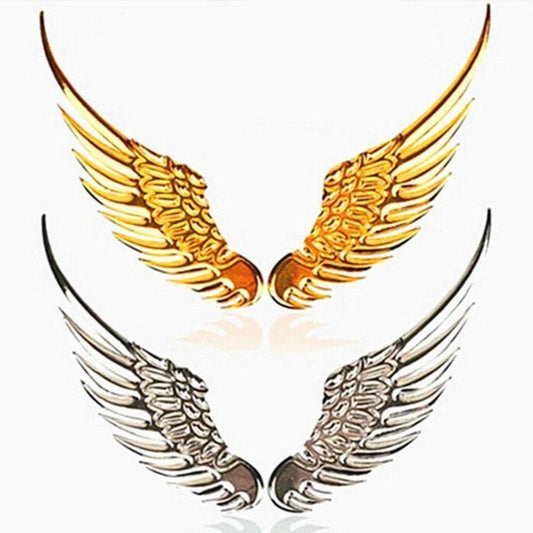
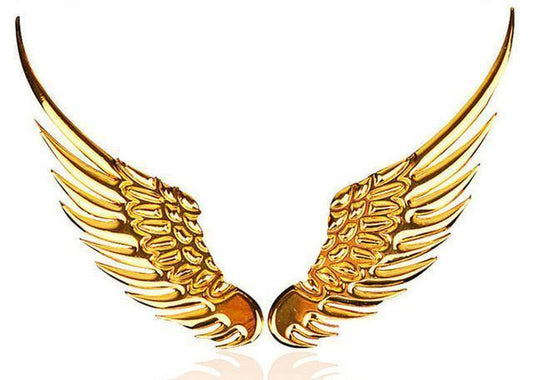
3D Metal Angel Wing Car Styling Decal Stickers
Regular price $29.95Regular price $29.95 Sale priceUnit price per$47.9937% -
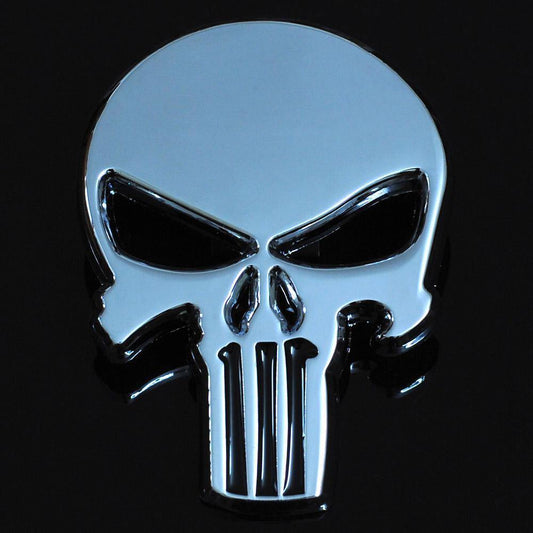
Punisher Skull Sticker Vinyl Decal, 4 x 6 in
Regular price $14.95Regular price $14.95 Sale priceUnit price per$29.9550% -
 SAVE 34%
Thriller Skull Sticker
Regular price $16.95Regular price $16.95 Sale priceUnit price per$25.9534% -
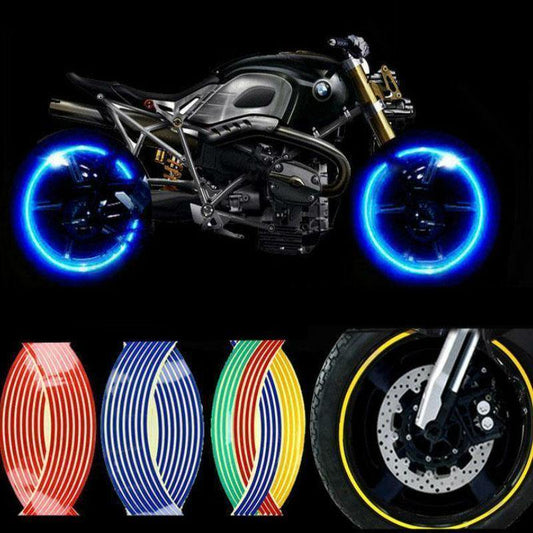
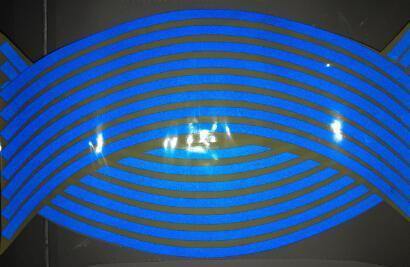
Wheel Hub Decal Sticker Reflective Stripes for 16/17/18 in Motorcycle & Car Rims
Regular price $36.60Regular price $36.60 Sale priceUnit price per$28.95 -
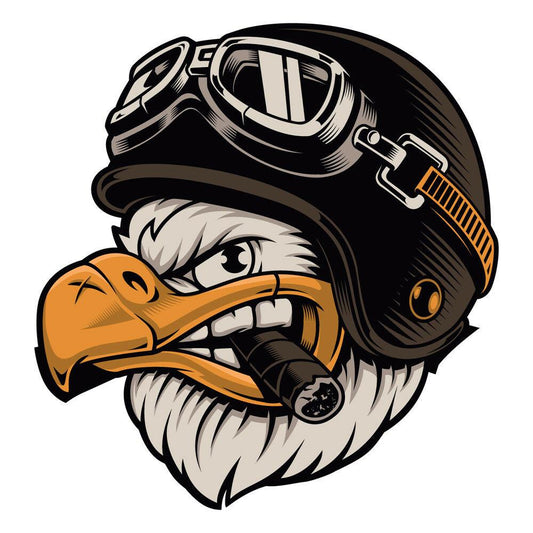
American Eagle Motorcycle Helmet Sticker
Regular price $19.45Regular price $19.45 Sale priceUnit price per$29.9535% -
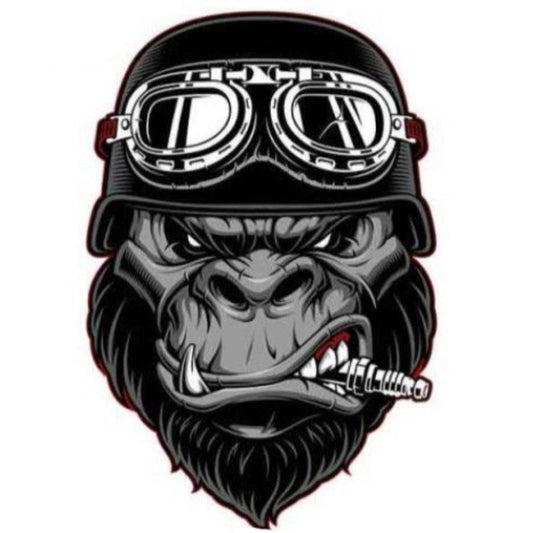
Gorilla Biker Motorcycle Helmet Sticker
Regular price $19.45Regular price $19.45 Sale priceUnit price per$29.95Sold out -
Motorcycle Helmet Rainbow Sticker Set
Regular price $17.99Regular price $17.99 Sale priceUnit price per$28.9537% -
 SAVE 28%
Bike Week Rally Sticker
Regular price From $4.95Regular price From $4.95 Sale priceUnit price per$6.9528% -
Limited Edition 3D Reflective Helmet Sticker
Regular price $19.95Regular price $19.95 Sale priceUnit price per$29.9533% -
Ready to Race 3D Reflective Helmet Sticker
Regular price $19.94Regular price $19.94 Sale priceUnit price per$29.9533%


Factors to consider when buying biker stickers
With so many sticker options to choose from, it is important to look out for high-quality motorcycle stickers. It is simply not enough to get just any sticker, but one that represents your style and taste while guaranteeing quality. Be on the lookout for the following qualities before making a purchase.
- Quality of finish
The quality of finish of your preferred motorcycle sticker should be first-rate and made out of quality print and material. The vinyl quality should be able to withstand prolonged exposure to the elements while maintaining its initial high gloss look. A good biker sticker should keep its original gloss for a long time without losing quality. Whether you want motorcycle decals stickers or are simply looking to make a statement with an effective motorcycle sticker, the quality of finish is something you don’t want to skimp on.
- Is the sticker removable?
Nothing sticks out like a sore thumb than an ugly looking sticker that is partially removed or charred. This can ruin a perfectly looking bike. For this reason, you should make sure that the motorcycle sticker that you choose can be easily removed without leaving ugly marks, or worse coming off with your bike’s paint. Luckily, our motorcycle stickers are easy to remove and replace whenever you desire a change.
- Placement of the biker stickers
If you plan on having multiple motorcycle stickers on your motorcycle, consider the best way to place them for easier viewing. Ideally, most people will put a sticker on the bike’s tank or on a curved surface that is visible.
Where to put your motorcycle stickers?
Applying motorcycle stickers yourself can save you money over having a professional do it for you. But ultimately, it is more satisfying to do it yourself using the right tools and the right procedure. If you have exceptionally large motorcycle decals stickers, you may need an extra hand for the best results. Putting on biker stickers and decals will require you to plan well ahead of time for guaranteed efficiency. As long as you follow the process outlined below, you should be able to place your biker sticker without incident.
- Decide where you want to place your motorcycle decals stickers
Ensure that you place the biker sticker without peeling it off the backing first. Hold the sticker in place using masking tape which should not be too strong. If you use a strong sticker, it may possibly damage your coat painting.
- Adjust the placement to how you like
Once you’ve adjusted the placement of your decal, it is time to mark the top and bottom using a water-soluble pencil.
- Use a non-shedding cotton cloth to clean the placement area. Clean the placement area with soapy water and dry the surface.
- Put on the sticker according to the markings. Peel it off without touching the adhesive or else you will have fingerprints on the backing.
- Smoothen the motorcycle sticker using a plastic squeegee, starting from the center and moving towards the outside.
This will push away any trapped air bubbles that may affect the effectiveness of the vinyl adhesive. Do this several times until you are satisfied there are no air bubbles. If there are any air bubbles, use a tiny pin to poke them. Once the decal sets, the surface should be smooth and flawless.
Depending on the type of surface or whether it is curved or not, you may need to be more careful when applying the stickers. When applying vinyl decals on curved surfaces, you may want to use a heat gun to get rid of air bubbles while using a squeegee to smoothen it out. Also, remember to not use the heat gun, or hairdryer too close or it may melt the vinyl and reduce effectiveness.