
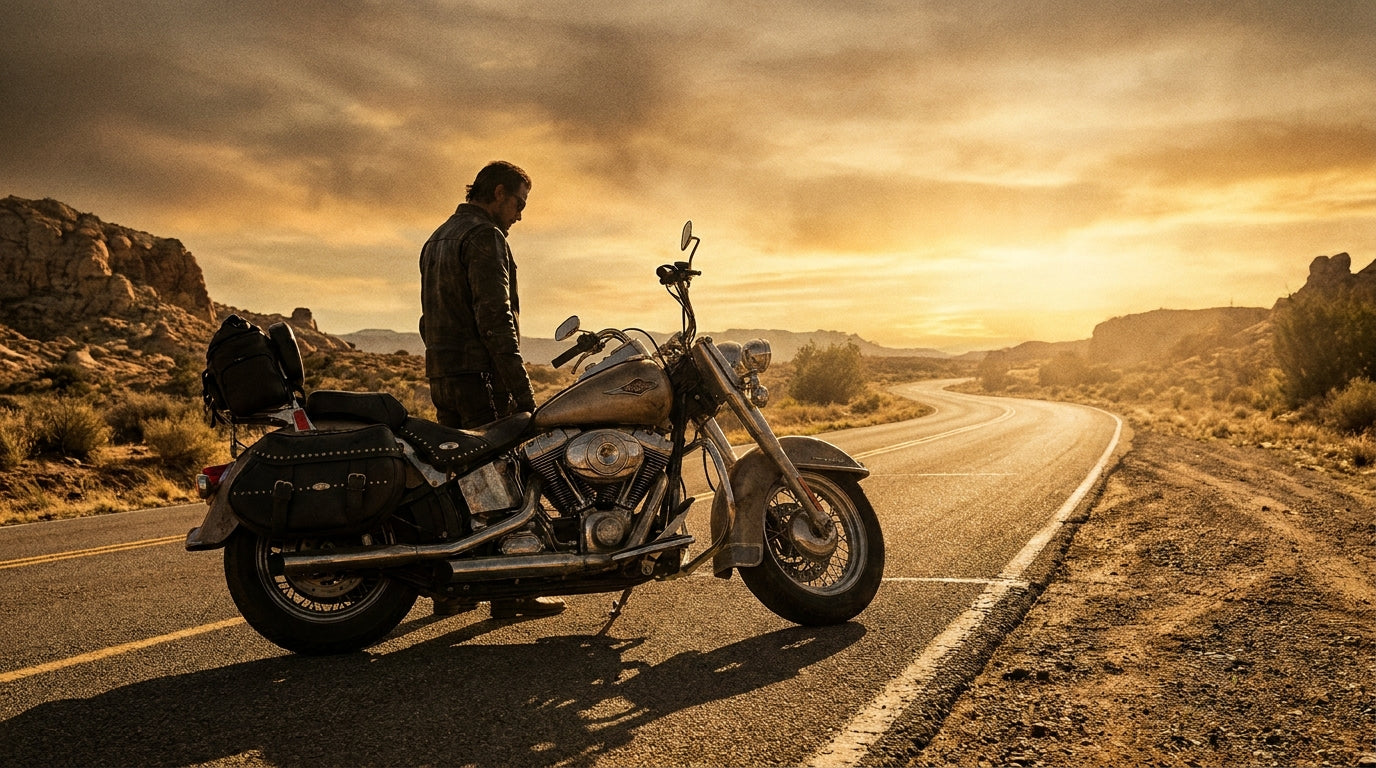
A full-face helmet gets all the credit. But in a 30 mph lowside, your knees, elbows, and spine hit the pavement before your head does. The NHTSA recommends a full motorcycle protective gear set for every ride: helmet, jacket, gloves, and boots at minimum. Most riders own a helmet and maybe a pair of gloves. The rest of the setup is where the real protection gap lives.
This guide breaks down exactly what goes into a motorcycle protective gear set, what CE armor ratings mean in plain terms, and how to build a complete setup that matches your riding style without overspending. You will know what to buy first, what to skip, and how to check that everything fits.
What Goes Into a Complete Motorcycle Protective Gear Set
A proper motorcycle protective gear set covers five impact zones: head, torso, hands, legs, and feet. Each piece has a specific job, and skipping any one of them leaves a gap that asphalt will find.
Helmet
DOT certification is the legal floor in all 50 states. Full-face helmets protect the chin bar area, which takes 35% of all helmet impacts according to Dietmar Otte's crash study data. The Snell M2020 standard adds higher-speed impact testing. Budget pick: any DOT-certified full face starts around $80.

Jacket with Armor
A riding jacket is not a leather fashion piece from the mall. What separates it: CE-rated armor inserts at the shoulders, elbows, and back. Most jackets under $200 ship with shoulder and elbow armor but only a foam pad in the back pocket. That foam pad is not a protector. Replace it with a real CE-rated back insert for $40 to $60. Leather thickness for crash-grade jackets sits between 1.2 mm and 1.4 mm.

Gloves
Your hands hit the ground first in almost every fall. Motorcycle gloves need hard knuckle armor, reinforced palms, and a wrist closure that stays shut on impact. Look for scaphoid protection (the palm slider that prevents wrist fractures). A solid pair of leather motorcycle gloves with hard knuckles runs $35 to $90.

Pants
Regular denim shreds in under one second at 30 mph. Riding jeans use Kevlar or Dyneema lining and come with CE knee and hip armor pockets. Textile overpants work too, especially for commuters who want to pull them over work clothes. Knee armor placement matters more than brand. If it shifts off your kneecap when you bend your leg, the fit is wrong.
Boots
Motorcycle boots need to cover the ankle bone completely, have a rigid sole, and include a shift pad on the left toe. The ankle joint is the most fractured bone in motorcycle crashes, according to NHTSA lower-extremity injury data. Sneakers and work boots leave the ankle exposed. Proper motorcycle boots start around $70 and run up to $250 for touring-grade leather.

CE Armor Ratings: Level 1 vs Level 2 Motorcycle Protective Gear
CE stands for Conformité Européenne. It is the European standard for impact-absorbing armor used in motorcycle gear. Two levels matter for riders.
| Rating | Max Force Transmitted | Best For |
|---|---|---|
| CE Level 1 (EN 1621-1) | Under 35 kN | Street commuting, casual rides |
| CE Level 2 (EN 1621-1) | Under 20 kN | Sport riding, touring, track days |
Level 2 armor absorbs roughly 43% more impact energy than Level 1. For back protectors specifically, the upgrade to CE Level 2 is worth every dollar. A spine hit at highway speed generates forces well above what Level 1 is designed to handle. The EN 1621-2 standard covers back protectors separately, so check that tag on the actual insert, not just the jacket label.
One thing that trips people up: a jacket marketed as "CE-rated" might only have certified armor in the elbows. The shoulder pads could be basic foam. Always pull the armor out and read the stamped rating on each piece individually.
Street Gear Sets vs Track Gear Sets
The gear is built for different crash scenarios, different speeds, and different comfort priorities.
| Feature | Street Gear Set | Track Gear Set |
|---|---|---|
| Material | Textile or leather | Full-grain leather |
| Armor Rating | CE Level 1 | CE Level 2 |
| Back Protector | Often sold separately | Usually included |
| Comfort Features | Pockets, vents, rain liners | Minimal (speed humps, sliders) |
| Typical Full Set Cost | $350 to $800 | $900 to $2,500+ |
Street gear prioritizes comfort over hours in the saddle. Ventilation in stop-and-go traffic, waterproof liners for commuters, and enough pockets to skip a backpack. A textile touring jacket with CE Level 1 armor handles daily riding well. Weight matters less here than versatility.
Track gear is about maximum slide protection at triple-digit speeds. One-piece leather suits with CE Level 2 armor everywhere, knee sliders, and speed humps. Track boots have minimal tread because they are designed to stay locked on pegs, not for walking around parking lots.
If you ride a sport or naked bike on canyon roads, look for track-level protection in a street-friendly format. Two-piece leather suits that zip together give you the protection of a race suit with the convenience of separates.
How to Build a Motorcycle Protective Gear Set on a Budget
If you are buying piece by piece (and most riders do), here is the priority order that gives you the most protection per dollar spent.
- Helmet first. Always. A DOT-certified full-face helmet starts at $80 to $150. This is the one piece where spending more pays off directly in comfort and noise reduction. But a $90 HJC i10 meets the same DOT standard as a $700 Shoei.
- Gloves second. Hands take the first impact in most low-speed falls. Leather gloves with hard knuckle armor cost $35 to $80. Do not ride without them, even on short trips.
- Boots third. An ankle fracture keeps you off the bike for three to six months. Solid motorcycle boots with ankle coverage start at $70.
- Jacket fourth. A CE-armored leather or textile jacket sits between $130 and $400. Skip the fashion jackets that carry no armor at all.
- Pants last. Kevlar-lined riding jeans with CE knee armor start around $80. They look like regular jeans but survive a slide.
A full motorcycle protective gear set with CE Level 1 protection in all five zones can run as low as $400 to $850 total. That is less than most insurance deductibles.
One shortcut worth knowing: some retailers bundle jacket, pants, and gloves at a package discount of 15% to 20% off individual prices. If you are starting from zero, a bundle saves real money. The protective gear collection at American Legend Rider carries armored jackets, gloves, and disc locks for riders building out their setup.
How to Check That Your Motorcycle Protective Gear Fits
Armor that shifts during a slide does not protect the joint it was designed to cover. Bad fit turns good gear into expensive decoration. Here is how to check each piece.
- Helmet: Put it on and try to pull it forward off your chin. If it moves more than half an inch, it is too loose. Padding compresses over the first month, so start snug.
- Jacket shoulder armor: Stand up and raise both arms overhead. The pads should stay on your shoulder caps. If they ride up toward your neck, size down.
- Gloves: Make a full fist. The knuckle armor should sit directly over your knuckles, not offset to the side. Pre-curved gloves hold alignment better than flat-cut ones.
- Boots: Walk for five minutes. Your toes should not touch the front wall. The ankle padding needs to wrap the ankle bone on both sides completely.
- Knee armor: Sit down and bend your knee at 90 degrees. The pad should stay centered on your kneecap. If it rides up your thigh, the pant fit or strap placement needs adjusting.
Try gear on wearing what you would actually ride in. Testing a jacket over a thick hoodie gives you a false read on the armor position and the ventilation.
5 Mistakes That Waste Money on Motorcycle Protective Gear
- Buying a helmet that is too big. A loose helmet rotates on impact and reduces its protective value. The interior padding breaks in over 15 to 20 hours of wear, so a new helmet should feel firm. If it feels comfortable in the store, it will be loose in a month.
- Assuming leather equals protection. A department store leather jacket has no armor, no abrasion-rated stitching, and no back protector pocket. Crash-grade leather runs 1.2 mm to 1.4 mm thick with double or triple stitching at the seams. Without those, it is a fashion piece.
- Skipping the back protector. Many CE-armored jackets ship with a foam back pad that looks like armor but carries no CE rating. Pull it out. Read the stamp. If it says nothing about EN 1621-2, replace it. A standalone CE Level 2 back protector insert costs $40 to $60 and fits most armor pockets.
- Wearing sneakers on short rides. Roughly 37% of motorcycle crash injuries affect the feet and lower legs according to NHTSA data. Short rides are not safer rides. The parking lot at the gas station is where most low-speed drops happen.
- Ignoring fit because the price was right. A $200 jacket that fits right beats a $500 jacket where the shoulder armor slides to your bicep. Armor must sit over the joint it protects. If it does not, you paid for protection you will not get.
When to Add a Disc Lock or Alarm to Your Gear Set
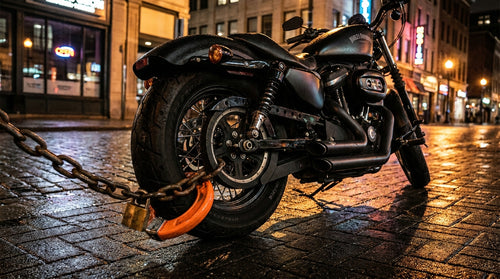
Protective gear keeps you safe on the road. A disc lock keeps your bike safe when you stop. According to NICB data, roughly 46,000 motorcycles were reported stolen in the U.S. in 2022. A disc lock with a built-in 110 dB alarm is one of the cheapest deterrents available, starting around $30 to $60. It does not replace insurance, but it makes your bike a harder target than the one parked next to it.

Think of a disc lock as the final piece of your complete motorcycle protective gear set. You protect yourself with armor. You protect your bike with a lock.
If you are putting together your first gear set or upgrading from budget pieces, the motorcycle protective gear collection is a good starting point. Real armor, real ratings, gear that does its job when the road does not.
No comments yet. Be the first rider to weigh in.