
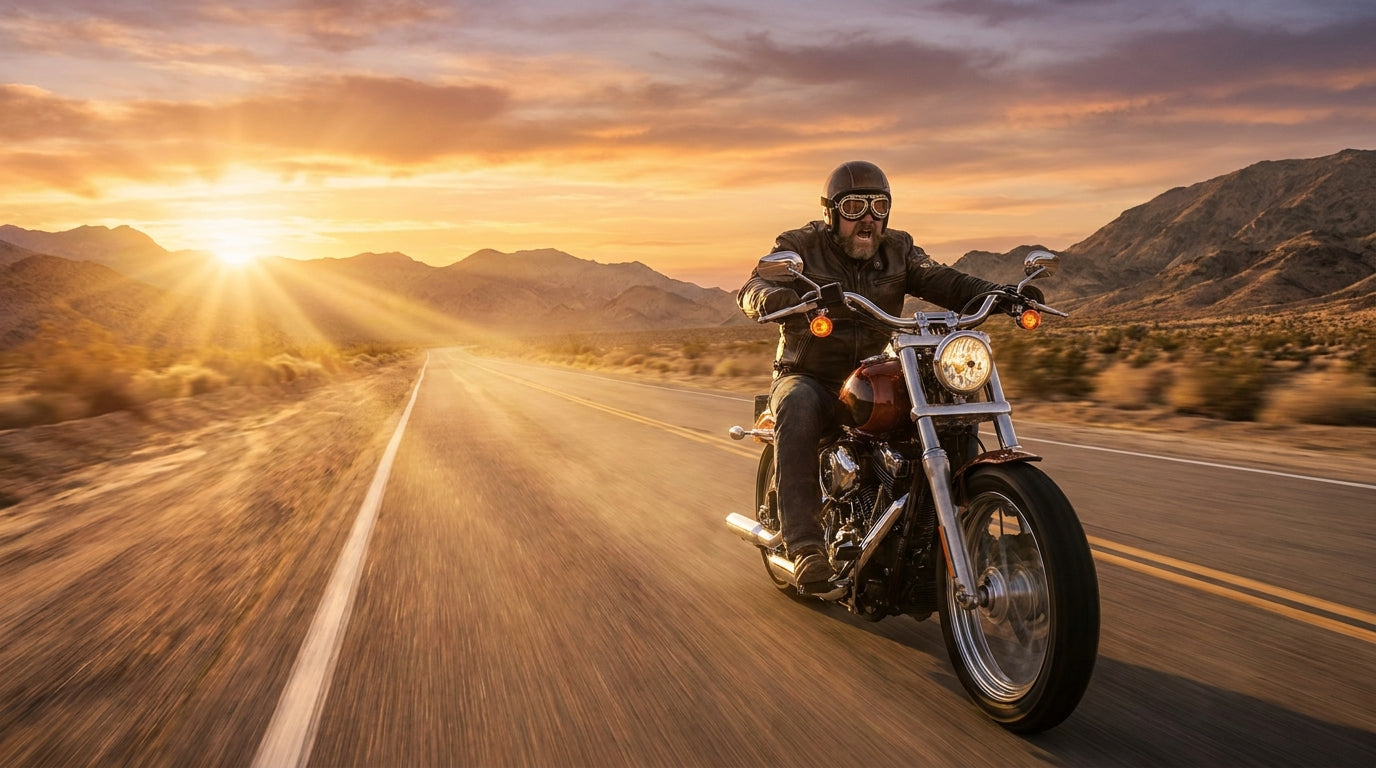
A rider in a half-shell helmet grabs a pair of wraparound sunglasses, clips them on, and rolls onto the interstate at 65 mph. Within two miles, wind is pouring through every side gap, dust is collecting on the inside of the lenses, and his eyes are watering so badly he misses his exit. Aviator goggles fix this problem because they seal flush against the face instead of hovering in front of it. The frame, the foam cushion, and the elastic strap work together to create a barrier that sunglasses simply cannot match. The difference is obvious the first time you hit highway speed.
This guide breaks down every aviator goggle style that matters for motorcycle riders. You will learn which frame materials last, which lenses work in different light conditions, how to fit goggles over prescription glasses, and what separates a real riding pair from a costume prop. If you are looking for vintage aviator goggles or a modern retro pair built for the road, every option is covered here.
What Makes Aviator Goggles Different from Standard Riding Glasses
Aviator goggles trace their design back to open-cockpit military aircraft in the 1930s and 1940s. Pilots needed eye protection at 200+ mph with no windshield, so the goggles had to seal completely around the eye socket. That same engineering is exactly what a motorcyclist needs on a bike with no fairing or windscreen.
The defining feature is the full-perimeter seal. A foam or leather cushion rings the entire goggle frame and presses against the brow, cheekbone, and temple. Standard riding sunglasses leave open gaps at the top, bottom, and sides. At 30 mph those gaps are barely noticeable. At 55 mph, wind rushes through them, dries the cornea in under two minutes, and lets bugs and road grit hit the eye from angles the lens cannot block. Aviator goggles eliminate roughly 95% of that airflow compared to about 70% for a tight wraparound frame.
The second key difference is the strap. Sunglasses use rigid temple arms that wedge between your head and the helmet liner, creating pressure points above the ears. Aviator goggles use a 25 to 38mm elastic strap that distributes force across the back of the head. No hot spots after an hour, and the goggles stay locked during head checks and lane changes instead of sliding down the nose bridge.

Aviator Goggle Frame Materials: Chrome, Brass, TPU and Leather
Classic aviator goggles use a chrome-plated or brass metal frame with dual teardrop-shaped lenses, typically 50 to 55mm wide. That metal frame gives the signature vintage look but adds weight. A chrome-frame aviator pair weighs about 4 to 5 oz compared to 2 to 3 oz for a modern TPU frame. On a short ride, the difference is trivial. On a 3-hour highway stretch, the extra ounces build nose-bridge pressure, especially in summer heat when sweat reduces friction between the foam and skin.
TPU (thermoplastic polyurethane) frames dominate the modern market because they flex on impact instead of denting or cracking. A TPU frame can be dropped on asphalt without damage. A chrome frame will dent and may bend out of alignment, affecting the seal. For daily riding, TPU wins on durability. For show bikes, custom builds, and the classic pilot aesthetic, chrome and brass are worth the tradeoff.
Leather-wrapped frames split the difference. A thin layer of genuine leather over a rigid plastic core gives the vintage look while keeping the weight closer to 3 oz. The leather also adds a natural cushion along the frame edge, reducing the need for thick foam padding. The downside is maintenance. Leather absorbs sweat and needs occasional conditioning to prevent cracking. Synthetic leather skips the maintenance but peels after 12 to 18 months of sun exposure.
Lens Types and Tints for Every Riding Condition
The lens is the part that actually protects your eyes, and the wrong tint at the wrong time is dangerous. Here is what each option does:
Smoke or gray (10 to 15% VLT). Cuts glare on bright, sunny days without shifting color perception. This is the standard daytime lens. Do not ride with it past sunset or during heavy overcast. At dusk, a smoke lens reduces usable vision by nearly 90%.
Amber or yellow (40 to 60% VLT). Boosts contrast in flat, overcast light and works well at dawn and dusk. Amber lenses make lane markings, potholes, and road debris stand out against gray pavement. This is the most versatile single lens for riders who encounter mixed conditions on a single ride.
Clear (85 to 95% VLT). The only safe option for night riding and heavy rain. Clear lenses let through maximum light while still blocking wind and debris. Every rider who owns goggles needs a clear lens option for after dark.
Mirror or flash coatings. A reflective coating on top of a smoke or amber base lens reduces glare further. The coating scratches easily if cleaned with anything rougher than a microfiber cloth. Mirror lenses look sharp but require careful handling.
The minimum setup for a year-round rider is two pairs: one dark, one clear. Some aviator goggles come with interchangeable lenses that snap or screw into the frame. This saves money compared to buying two complete pairs, but the swap takes 2 to 5 minutes, which is not practical during a ride. Carry the spare lens in a soft pouch in your jacket pocket. The vintage motorcycle goggles guide covers additional lens options for riders who prioritize the classic look.

Aviator Goggles Over Prescription Glasses (OTG Fit)
About 64% of American adults wear corrective lenses according to the Vision Council's 2023 report. Standard aviator goggles have an internal frame depth of 6 to 8mm, which leaves zero clearance for eyeglass arms or frames. OTG (over-the-glasses) aviator goggles increase that depth to 10 to 14mm and widen the interior by 5 to 8mm on each side.
The fit test takes 30 seconds. Put on your prescription glasses, press the goggles over them, and check three things. First, the goggle foam should seal against your skin without pushing your glasses into your nose. Second, the goggle lens must not touch your eyeglass lens. Road vibration will rub them together and scratch both surfaces. A minimum of 3mm clearance is the target. Third, the goggle frame should not pinch the arms of your glasses against your temples.
Ventilation matters more with OTG goggles because two layers of lenses trap more heat and moisture. Look for goggles with top and bottom vents, not just side vents. Side vents push air across the front goggle lens but do nothing for the trapped air behind it where your prescription lenses sit. Top-to-bottom airflow clears fog from both layers. The biker glasses guide covers dedicated prescription-compatible options for riders who want a single pair without the double-layer setup.
Anti-Fog Solutions That Actually Work on Motorcycle Goggles
Fogging is the number-one complaint riders have with sealed goggles. Warm, humid air from your skin hits the cooler lens surface, and condensation forms in seconds. This happens fastest on cold mornings, at stoplights when airflow drops to zero, and in humid climates where the dew point sits above 60 degrees F.
Three anti-fog systems exist, and they perform very differently:
Anti-fog coatings. A hydrophilic coating spreads moisture into a thin, even film instead of beaded droplets. This works well for 6 to 12 months, then wears off from cleaning and handling. Reapply with a dedicated anti-fog spray ($5 to $8 per bottle, about 30 applications per bottle) or replace the lens.
Double-pane lenses. Two polycarbonate layers separated by a sealed air gap, the same principle as double-pane windows in a house. The inner lens stays closer to the temperature of your face, so the temperature differential drops and fog formation drops by roughly 90% compared to a single-pane lens. Double-pane goggles cost $8 to $15 more than single-pane, and they are the single best anti-fog upgrade you can make.
Vented frames with directed airflow. Channels cut into the top and bottom of the frame let a controlled amount of outside air flow across the lens interior. This keeps the air moving and prevents the stagnant pocket that causes fogging. The tradeoff: vented frames allow a small amount of dust and cold air to enter. In desert or heavily dusty conditions, sealed frames with double-pane lenses outperform vented frames.
For the most reliable anti-fog setup, combine double-pane lenses with a vented frame. The motorcycle sunglasses for men guide compares how anti-fog performance differs between goggles and wraparound glasses.
Aviator Goggles Compared: Style, Use, and Price
| Style | Frame | Lens Shape | Padding | Best For | Price |
|---|---|---|---|---|---|
| Classic aviator | Chrome/brass metal | Dual teardrop | Leather | Half-shell helmets, cruisers | $18-$45 |
| Retro round | TPU or leather-wrapped | Single round | Leather cushion | Cafe racers, 3/4 open-face | $22-$55 |
| Steampunk aviator | Metal with decorative rivets | Round with flip-up | Leather/rubber | Custom builds, show bikes | $15-$40 |
| OTG aviator | Flexible TPU | Wide single lens | Multi-density foam | Prescription eyeglass wearers | $20-$50 |
| Padded sport | Flexible TPU | Single curved | Closed-cell foam | Highway touring, cold weather | $15-$35 |
| Leather-trim vintage | Leather over plastic | Round or oval | Integrated leather | Vintage restorations, bobbers | $30-$65 |
Classic aviator and retro round styles dominate the vintage motorcycle goggles market. Steampunk aviator goggles add brass gears, decorative rivets, and sometimes a flip-up secondary lens. They look great on a show bike but add weight and bulk for daily riding. For all-condition practicality, padded sport goggles with a double-pane lens cover the most ground, even if they lack the vintage look.

5 Mistakes Riders Make When Buying Aviator Goggles
- Buying costume aviator goggles for actual riding. Theatrical goggles use glass or acrylic lenses with no impact rating. A gravel chip at 50 mph can shatter an unrated lens into the eye. Always confirm the ANSI Z87.1 stamp before putting aviator goggles on a motorcycle. The price difference between costume and riding-grade is usually $10 to $15.
- Skipping anti-fog on full-seal goggles. A sealed goggle with a single-pane lens will fog within 60 seconds at a stoplight on a cool morning. Double-pane lenses or an anti-fog coating are not optional extras. Without anti-fog, you will lift the goggles off your face at every red light, which defeats the purpose of wearing them.
- Using a strap that does not match the helmet shell. Elastic straps range from 20mm to 40mm wide. A narrow 20mm strap slides on a smooth fiberglass shell. A wide 38mm strap may not fit between a tight half-shell and the rider's head. Test the goggles with your actual helmet before committing. If the strap slides or shifts during a head check, the width is wrong.
- Wearing dark lenses after sunset. A smoke lens with 12% visible light transmission cuts usable vision by nearly 90% in low light. Yellow or amber lenses (40 to 60% VLT) work for dusk and overcast. Clear lenses (85 to 95% VLT) are the only safe option once the sun is down. One pair is never enough for a year-round rider.
- Ignoring the face-seal fit test. Every face shape is different. Press the goggles against your face without the strap and inhale gently through your nose. If air rushes in from a gap at the bridge, cheek, or temple, the foam contour does not match your bone structure. No amount of strap tension fixes a foam shape mismatch.
If you are shopping for aviator goggles built for real riding, the motorcycle goggles collection is where to start. Every pair is impact-rated and ships with free returns so you can test the seal and fit before committing.

No comments yet. Be the first rider to weigh in.