
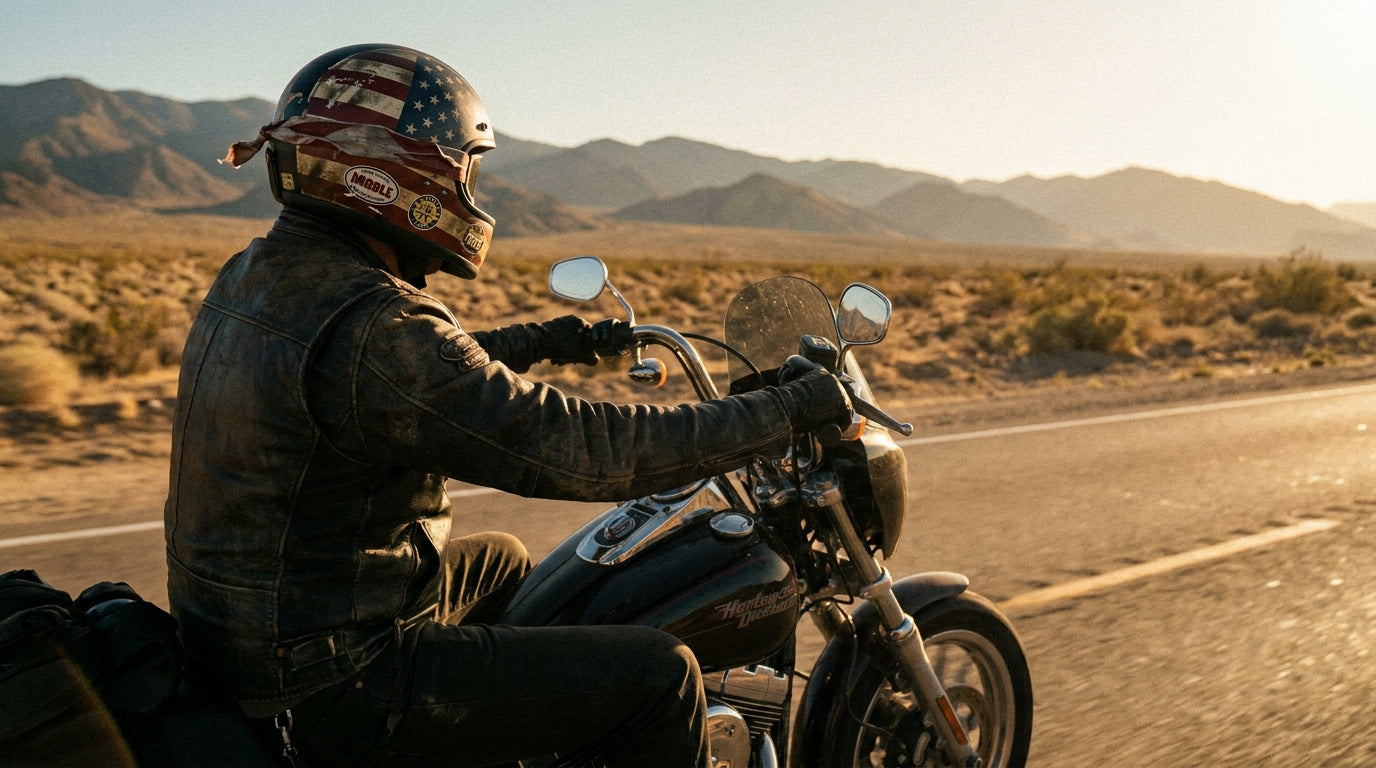
You just bought a solid matte-black helmet. It fits well, the DOT sticker checks out, and the ventilation works fine at 65 mph. But it looks like every other lid on the group ride. Custom paint runs $300 to $800 and takes two weeks minimum. That is where motorcycle helmet skins come in.
Helmet skins, whether vinyl wraps, 3D metal decals, or reflective stickers, let you change the look of your helmet in under an hour for a fraction of what paint costs. Some last years. Others peel off at the first rain. This guide breaks down what actually works, what does not, and how to apply each type so it stays put at highway speed.
What Counts as a Motorcycle Helmet Skin
The term "motorcycle helmet skins" covers three main product types, and each one handles differently on a curved shell.
- Vinyl wraps are thin adhesive films (usually cast vinyl, 2-4 mil thick) that conform to the helmet's shape with heat. They come in matte, gloss, carbon fiber patterns, and color-shift finishes.
- 3D metal decals and stickers are zinc alloy or ABS emblems with peel-and-stick backing. A single skull emblem weighs around 20 to 30 grams and adds instant personality to a plain lid.
- Helmet covers are stretchy fabric skins that pull over the entire shell. They slip on and off in seconds, but they are a different category from adhesive skins. (We covered those in our helmet covers guide.)
For this article, the focus is adhesive skins: wraps, decals, and stickers you bond directly to the shell.

Vinyl Wraps: Full-Coverage Motorcycle Helmet Skins
Vinyl wraps give you the most dramatic transformation. A full wrap can take a plain white Shoei RF-1400 and turn it into a carbon-fiber-look race lid. The key is using cast vinyl, not calendered. Cast vinyl (like 3M's 2080 series or Avery Dennison Supreme Wrapping Film) is rated for 7+ years of outdoor use on flat panels, though a helmet's curves and road vibration shorten that to roughly 3 to 5 years of solid life.
Calendered vinyl is cheaper but stiffer. It fights compound curves and likes to lift at edges after a few months. For helmets, skip it.
What a Full Wrap Costs
A 5-by-10 foot sheet of quality cast vinyl runs $30 to $60. That is enough for two full helmets with material to spare. Compare that to custom airbrush work that starts around $350 from most helmet painters. The vinyl route saves real money, and if you get tired of the look, you peel it off and start over.
How a Wrap Handles Road Conditions
Quality vinyl holds up well against rain, UV, and highway debris. A 3M wrap tested at 150 mph in wind-tunnel conditions showed zero edge lifting when properly applied with post-heat treatment. Where wraps fail is around vents and trim pieces. Those tight corners need extra heat-gunning during install or they will start peeling within weeks.
3D Metal Decals: Instant Style With Zero Skill Required
If wrapping a full helmet sounds like too much work, 3D metal decals are the low-effort option. These are zinc alloy or ABS plastic emblems with adhesive foam backing. Peel the liner, press it on, and you are done in about 30 seconds.
The appeal is texture. A flat vinyl sticker sits flush, but a 3D skull emblem or wing badge catches light and adds real depth to the helmet. Most metal decals run 2 to 4 inches across and weigh 15 to 35 grams, so they add zero noticeable weight to your lid.

The adhesive on quality 3D decals is typically 3M VHB (Very High Bond) foam tape, which holds up to 300 degrees F and resists UV breakdown. That is the same tape used for automotive trim pieces that stay on at highway speeds for years. Cheap knockoffs use generic foam tape that yellows and loses grip after one summer.

Reflective Motorcycle Helmet Decals for Night Riding
Reflective helmet stickers serve double duty. They look like regular decals during the day but bounce headlight beams back at night. That matters: NHTSA data shows that 28% of motorcycle fatalities happen between 9 PM and 6 AM, and low visibility is a contributing factor in a large share of those crashes.
Reflective decals use a layer of glass-bead retroreflective material (the same tech in road signs) bonded to a flexible vinyl base. A 4-by-6-inch reflective skull decal on the back of a helmet can be spotted from 500+ feet by oncoming headlights.

Where to place reflective decals matters. The rear and sides of the helmet are the highest-value spots because that is where trailing and cross-traffic drivers need to see you. Front placement looks cool but does less for your safety on the road.

How to Apply Motorcycle Helmet Skins Without Bubbles
Bad application ruins even premium materials. Here is the process that works for both vinyl wraps and adhesive decals.
- Clean the shell with 70% isopropyl alcohol (IPA). Wipe the entire area you plan to skin. No soap residue, no Armor All, no wax. IPA leaves zero film behind.
- Warm the helmet and the vinyl. If you are doing a full wrap, use a heat gun set to 180 to 200 degrees F. Cold vinyl does not stretch and fights curves. A warm shell (left in the sun for 20 minutes works too) helps the adhesive grab.
- Start from the center and work out. Lay the center of the decal or wrap first, then smooth outward with a felt squeegee. Push air bubbles toward the nearest edge. Going edge-to-edge traps air in the middle.
- Post-heat every edge. After the decal is down, hit every edge and corner with the heat gun for 5 to 10 seconds. This activates the adhesive's permanent bond. Skip this step and your skin will start lifting at 70 mph wind.
- Wait 24 hours before riding. The adhesive needs time to reach full bond strength. Riding immediately exposes the skin to wind, vibration, and temperature changes before it has cured.

Motorcycle Helmet Skins Compared: Wraps vs Decals vs Paint
| Type | Cost | Install Time | Durability | Removable? |
|---|---|---|---|---|
| Cast vinyl wrap | $30 to $60 | 1 to 2 hours | 3 to 5 years | Yes, heat + peel |
| 3D metal decal | $10 to $30 | 30 seconds | 5+ years | Yes, fishing line + heat |
| Reflective sticker | $8 to $20 | 1 minute | 2 to 4 years | Yes, peel off |
| Custom airbrush paint | $350 to $800+ | 1 to 3 weeks (shop) | Life of the helmet | No |
| Fabric helmet cover | $15 to $35 | 10 seconds | 1 to 2 years | Yes, pull off |
Vinyl wraps give you the most dramatic change per dollar. 3D decals win on ease. Reflective stickers add real safety value. Custom paint looks best but costs 10x more and you are stuck with it until the helmet ages out. Each option has a place depending on what you are after.
Common Mistakes That Ruin Motorcycle Helmet Skins
These are the errors that lead to peeling, bubbling, or wasted money. Every one of them is avoidable.
1. Skipping Surface Prep
Finger oils, road grime, and leftover polish create a barrier between the adhesive and the shell. A 30-second wipe with IPA prevents 90% of adhesion failures. Soap and water leaves surfactant residue. Use alcohol.
2. Using Calendered Vinyl on Compound Curves
Calendered vinyl is fine for flat surfaces like fenders or tank panels. On a helmet's tight radius curves, it fights back. Cast vinyl (3M 2080, Avery Supreme, or Oracal 970) is formulated to stretch and conform. The price difference is about $10 per sheet. Spend it.
3. Applying Decals in Cold Weather
Adhesive bond strength drops below 50 degrees F. If you apply a sticker in your garage during winter, it will look fine at first and peel off the next time you ride in warm sun as the shell expands. Apply in a room at 65 degrees F or higher.
4. Placing Stickers Over Vents or Seams
Vents flex when you open and close them. Seams create edge points where adhesive has nothing to grip. Decals placed over these areas peel first. Keep your skins on flat shell panels and away from moving parts.
5. Buying No-Name Decals With Generic Adhesive
The sticker itself might look great in the listing photo. But if the backing uses cheap acrylic adhesive instead of automotive-grade VHB foam, it will fail within months. Look for decals that specify 3M adhesive or automotive-grade bonding. Products from ALR's sticker collection use verified automotive-grade backing, so you are not guessing about adhesive quality.
Which Helmet Materials Work Best With Skins
Not every helmet shell bonds the same way. Polycarbonate shells (the most common material in DOT helmets under $200) have smooth surfaces that accept adhesive well. Fiberglass composite shells (like the Arai Corsair-X or Shoei GT-Air II) also bond cleanly.
Matte-finish helmets are trickier. The textured surface gives adhesive less contact area. You can still apply skins, but you need to use more heat during application and press harder with the squeegee. Gloss finishes are the easiest surface for any type of motorcycle helmet skin.
Carbon fiber helmets need extra care. Some carbon shells use a gel coat that can be damaged by aggressive adhesive removers. If you plan to remove a wrap from a carbon lid, use a plastic razor and low heat to avoid marking the clear coat.
For riders shopping for a helmet that takes skins well, a gloss-finish polycarbonate or fiberglass shell gives you the most options. Check out our cool motorcycle helmets guide for DOT-rated lids that look great as a starting canvas.
If you want to add some personality to your lid without the commitment of a full wrap, start with a single 3D decal or reflective sticker. It takes less than a minute, costs under $20, and you will know right away whether the adhesive-skin route is for you. Browse motorcycle stickers and decals to find something that fits your style.

No comments yet. Be the first rider to weigh in.