
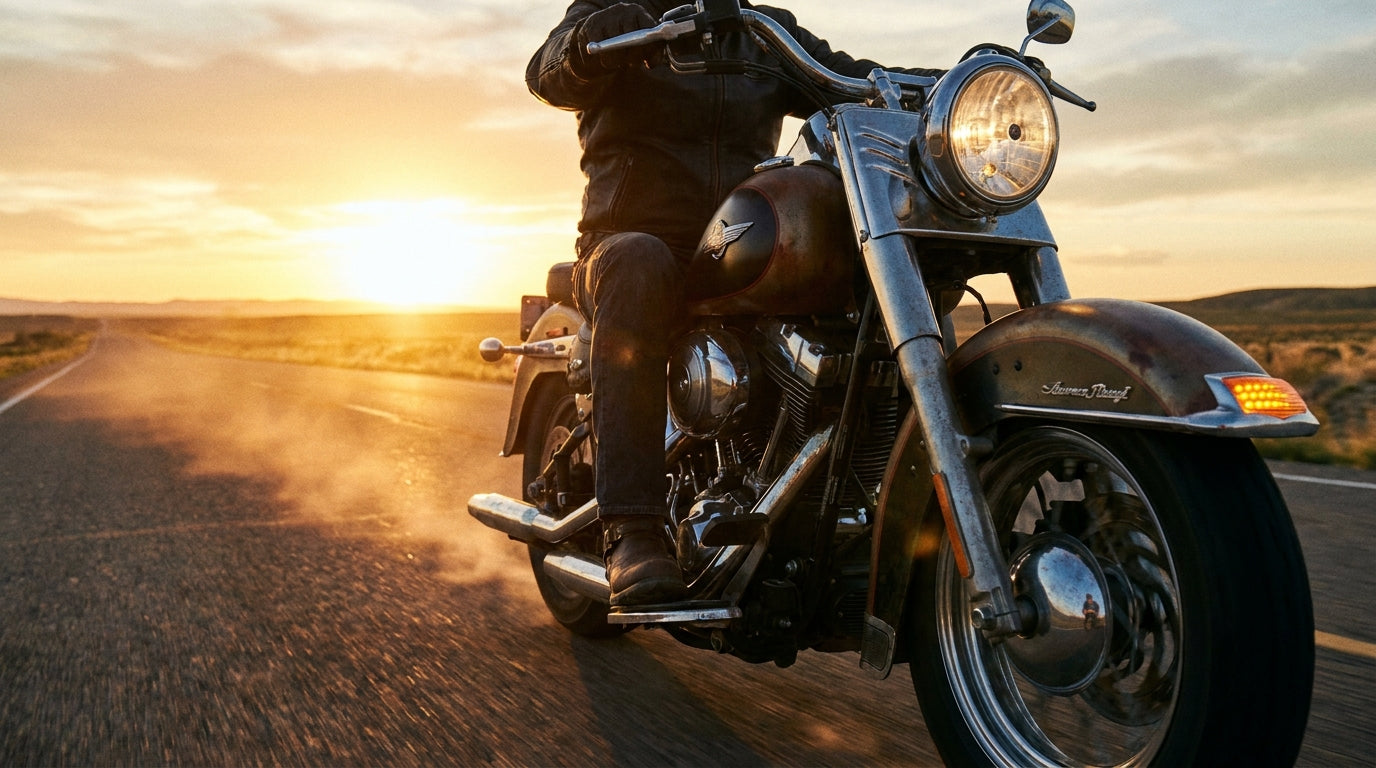
You pull up to an intersection at dusk and the driver next to you has no idea you're turning. Your stock incandescent signals are dim, cracked from a drop, or just ugly enough that you ripped them off during a build. That is the exact moment most riders start shopping for universal motorcycle turn signals.
This guide covers every type of aftermarket signal on the market, walks through DOT and state laws so you stay street-legal, and breaks down how to install a set yourself. By the end you will know which style fits your bike, which ones actually pass inspection, and where the deals are.
What Makes a Turn Signal "Universal" (and Why It Matters)
A universal motorcycle turn signal is designed to bolt onto almost any bike regardless of make or model. Instead of a Harley-specific or Honda-specific bracket, universal signals ship with generic mounting hardware (typically an M8 or M10 bolt) that fits standard handlebar clamps, fork mounts, or frame holes.
The main advantage is flexibility. A $25 set of universal LED signals works on a 2006 Sportster, a 2019 Kawasaki Z400, or a garage-built bobber. You do not need to hunt for OEM part numbers or pay dealer markup. The trade-off is that some bikes need a wiring adapter or a load resistor to match the flasher relay, but that is a 10-minute fix covered below.
LED vs Incandescent: Which Lasts Longer on the Road
Almost every universal motorcycle turn signal sold today uses LEDs, and for good reason. A standard 1157 incandescent bulb draws about 27 watts per side and lasts roughly 1,200 hours. An LED module pulls 1 to 3 watts and is rated for 50,000 hours or more. That is not marketing fluff. LEDs produce less heat, respond 200 milliseconds faster (giving the car behind you an extra 15 feet of reaction distance at highway speed), and survive vibration better because there is no filament to break.
Incandescent signals still have one advantage: plug-and-play compatibility with older flasher relays. If you swap to LEDs without changing the relay, the blinker speed goes haywire (hyper-flash). The fix is a $6 electronic flasher relay or a pair of inline load resistors. Most kits include them. If yours does not, grab a 2-pin LED relay and you are done in five minutes.

5 Types of Universal Motorcycle Turn Signals
Not every signal mounts the same way or suits every build. Here is what each type looks like, where it fits, and what to watch out for.
1. Stalk (Pod) Signals
The classic bullet or pod shape on a short metal stem. They bolt into existing holes or clamp onto a bracket. Most are amber-lens or smoked with an amber LED behind them. A quality stalk signal runs $15 to $40 for a pair. They suit cruisers and standard bikes where you want a visible, traditional look.
2. Flush-Mount Signals
Flush mounts sit nearly flat against the fairing or tail section. They are popular on sportbikes (Yamaha R6, Suzuki GSX-R) where stalk signals look out of place. Most use a rubber gasket and a single bolt through the fairing hole. Expect $12 to $30 for a pair. The downside is that they are smaller and less visible from the side, so pick a high-output LED version with at least 15 SMD chips.
3. Bar-End Signals
These replace the handlebar end caps and double as turn signals. They keep the front end clean on cafe racers, scramblers, and bobbers. Kellermann Atto bar-end signals are the gold standard at about $90 each, but universal versions run $20 to $40 a pair. Make sure the inner diameter matches your handlebar (22mm is standard, 25.4mm for some Harleys).
4. Fork-Mounted LED Strips
Flexible LED strips wrap around the fork tubes with zip ties or adhesive-backed clamps. They add turn signal function without any drilling. A pair of 39mm to 41mm fork strips costs $20 to $35. They are bright, low-profile, and especially useful on stripped-down builds where you removed the stock signals entirely. The Harley Softail and Dyna crowd loves these.
5. Integrated Tail Lights
An integrated tail light combines brake light, running light, and turn signals into one unit that replaces the stock tail. This cleans up the rear end dramatically. Quality units run $30 to $70. The SkullBurn LED from American Legend Rider is a solid example: it handles brake, running, and turn signal duty in a single skull-shaped housing at $68.95.
Universal Motorcycle Turn Signals: Quick Comparison
| Type | Price (pair) | Best For | Visibility | Install Difficulty |
|---|---|---|---|---|
| Stalk / Pod | $15 - $40 | Cruisers, standards | High | Easy |
| Flush Mount | $12 - $30 | Sportbikes, fairings | Medium | Easy |
| Bar-End | $20 - $90 | Cafe racers, bobbers | Medium | Easy |
| Fork Strip | $20 - $35 | Stripped builds, Harleys | High | Very Easy |
| Integrated Tail | $30 - $70 | Any bike (rear only) | High | Moderate |

Do You Need Turn Signals on a Motorcycle?
Short answer: it depends on the state and the year of your bike. There is no single federal law requiring turn signals on motorcycles. Instead, FMVSS 108 requires manufacturers to install them on bikes built after 1973, but individual states decide what riders must keep on the road.
Here is the general breakdown:
- Signals required (most states): California, New York, Texas, Florida, Pennsylvania, and about 35 other states require functional front and rear turn signals for street-legal operation. If your signals are broken or missing, you can get ticketed during a traffic stop or fail inspection.
- Hand signals accepted (a few states): States like Ohio, Kentucky, and Indiana allow hand signals as a legal alternative. You can remove the hardware, but you must signal manually at every turn.
- Exempt for older/custom builds: Some states exempt motorcycles built before a certain year (often 1973) or registered as custom builds. Check your state's DMV page before removing anything.
Even where hand signals are legal, riding at night or in rain makes them nearly invisible. Functional turn signals are a safety upgrade that costs less than a tank of gas. Keep them on the bike.
How to Install Universal Motorcycle Turn Signals
Most universal signal installs take 30 to 60 minutes with basic tools. Here is the process for a standard stalk or flush-mount swap.
Tools You Will Need
- 10mm and 12mm wrenches (or socket set)
- Wire strippers and crimpers
- Heat-shrink butt connectors (skip the electrical tape)
- Multimeter (for identifying positive and ground wires)
- LED flasher relay (if upgrading from incandescent to LED)
Step-by-Step
- Remove the old signals. Unbolt the stock units and disconnect the wiring harness. Take a photo of the connector before you unplug it so you remember which wire is which.
- Test-fit the new signal. Thread the mounting bolt into the existing hole. If the bolt diameter is wrong, use the included adapter bushing or drill the hole out 1mm wider (measure twice).
- Wire it up. Match positive (usually green or brown) to positive, ground (usually black) to ground. Use a multimeter if the wire colors do not match the stock harness. Crimp with heat-shrink connectors and hit them with a lighter for a sealed joint.
- Swap the flasher relay (LED only). The stock relay is usually behind the headlight bucket or under the seat. Pull the old 2-pin relay, plug in the LED relay. Done.
- Test before you ride. Turn on the ignition, check left and right blink speed, confirm the brake light still works independently. Walk behind the bike and verify brightness from 50 feet.
If you want an even simpler install, fork-mounted LED strips skip the drilling entirely. Wrap, zip-tie, and connect two wires per side.
5 Mistakes That Ruin a Turn Signal Upgrade
- Skipping the flasher relay swap. LEDs draw so little current that the stock thermal relay thinks a bulb burned out. The result is hyper-flash (double-speed blinking). A $6 electronic relay fixes it instantly. Every LED signal install needs one.
- Using electrical tape instead of heat-shrink. Tape unravels in vibration and heat. Within a season the connection corrodes and the signal dies intermittently. Heat-shrink butt connectors cost $8 for a 50-pack and last for years.
- Buying signals without DOT or SAE markings. Cheap no-name signals from random marketplaces often have no safety certification. If they are too dim or the wrong color, you will fail inspection. Look for a DOT or SAE stamp on the lens.
- Mounting signals where they cannot be seen. FMVSS 108 specifies that turn signals must be visible from at least 100 feet. Tucking them behind a saddlebag or under the seat looks clean but defeats the purpose. If a driver cannot see them, they do not help you.
- Ignoring load resistors on mixed setups. If you upgrade only the rear signals to LED and keep incandescent fronts, the relay gets confused. Either upgrade all four at once or add a load resistor to each LED circuit.
What to Look for When Shopping
A few things separate good universal motorcycle turn signals from junk:
- LED chip count: 12 to 24 SMD chips per signal is the sweet spot. Fewer than 12 and you lose visibility in daylight. More than 24 usually means they padded the spec sheet with low-output chips.
- Lens color: Amber lens with amber LED is the brightest combo. Smoked lens with amber LED looks better on dark bikes but cuts output by about 30%. If you go smoked, pick a higher chip count to compensate.
- Voltage: Stick with 12V DC. A handful of cheap imports are wired for 6V systems on vintage bikes. Check before you buy.
- IP rating: IP65 or higher means the signal survives rain without shorting. If the listing does not mention water resistance at all, move on.
- Wiring length: At least 12 inches of lead wire per signal. Anything shorter means you will need to splice in extensions, which adds failure points.
Smoked vs Amber Lens: How to Pick the Right Look
Amber lenses let the full LED output through. They are brighter in direct sunlight and pass inspection with zero questions. Smoked lenses cut output by roughly 30% but look far better on blacked-out builds, dark fairings, and murdered-out Harleys.
If you go smoked, compensate with a higher chip count (18 to 24 SMD vs the standard 12). Some manufacturers sell "smoked with amber LED" specifically for this reason. Avoid fully tinted black lenses. They look good parked in the garage but they are nearly invisible at a stoplight, which defeats the point of a signal.
One more detail: some states require the signal lens itself to be amber. California Vehicle Code 25106, for example, says turn signals must emit amber light. A smoked lens with a bright amber LED behind it usually satisfies this, but a dark tint over a white LED does not. If your state inspects signals closely, stick with amber or confirm with your local DMV first.
If you are shopping for a set, the motorcycle turn signals collection at American Legend Rider has LED strips, fork signals, and integrated tail lights starting around $22. Every product listed is tested and ships from the U.S.
For riders who also want to upgrade visibility at the front end, a pair of motorcycle strobe lights works well alongside new turn signals. And if you are doing a full safety overhaul, the motorcycle safety gear guide covers everything from armor to reflective vests.



No comments yet. Be the first rider to weigh in.