
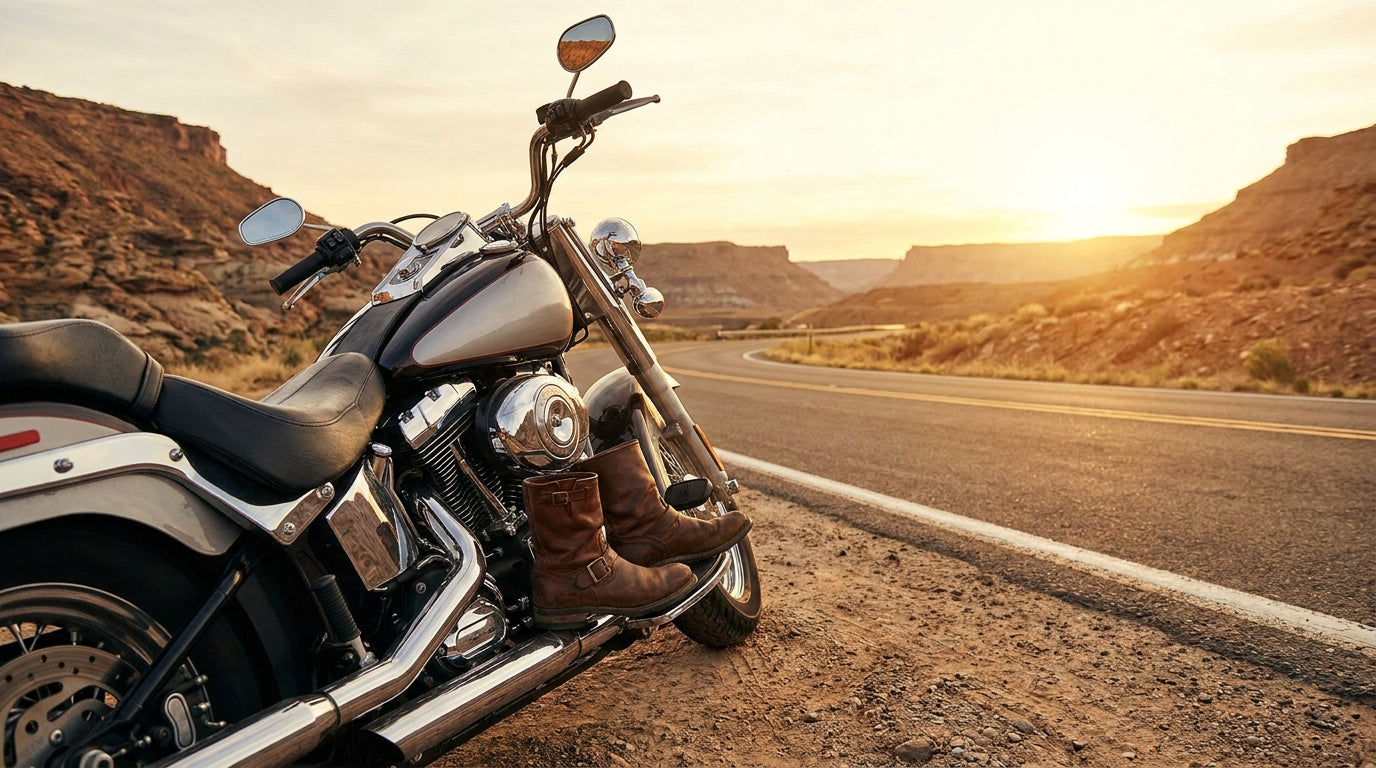
A pair of bonded leather boots from a marketplace listing will look fine in the box. They might even hold up for two or three casual walks. But the first time you ride in rain, hit gravel, or drag a toe at a stop, the outer layer peels, the stitching pulls, and the sole separates. That is the difference between real leather biker boots and the knockoffs that flood every online search result for riding footwear.
This guide breaks down the three main leather types used in motorcycle boots, shows you how to identify genuine leather before you buy, and covers the break-in process that keeps a good pair comfortable for years. If you have been burned by cheap boots before, this will save you from making the same mistake twice.
Why Leather Biker Boots Outperform Synthetic on the Road
Leather is still the standard for motorcycle boots because of one physical property: abrasion resistance. A 2019 study published by Deakin University in Australia tested cowhide against six synthetic materials and found that full-grain leather resisted slide abrasion for 4.6 seconds at highway speed, while PU-coated fabric failed at 1.2 seconds. That difference translates directly to skin on pavement in a low-side crash.
Beyond crash protection, leather molds to your foot over time. Synthetic boots hold the same shape from day one to day five hundred, which means pressure points never go away. A full-grain leather boot will conform to the width of your foot, the height of your arch, and the shape of your ankle within 30 to 40 hours of wear. That custom fit also improves control on the pegs and the shift lever, because the boot does not shift around on your foot at speed.
Leather also breathes better than most synthetics. Cowhide has a natural fiber structure that wicks moisture away from your skin, which matters on long summer rides when sweat can cause blisters. Most synthetic motorcycle boots rely on mesh panels for ventilation, and those mesh panels are the weakest point in a crash. The complete biker boots guide covers all materials in detail, but for riders who put real miles on their bikes, leather wins on durability, fit, and protection.

Leather Types Explained: Full Grain, Top Grain, Split, and Bonded
Not all leather is the same. The term "genuine leather" on a tag is actually a grade, and it is one of the lowest. Here is what each type means for motorcycle boots.
| Leather Type | Thickness | Durability | Price Range | Best For |
|---|---|---|---|---|
| Full Grain | 1.2 to 1.6 mm | 10+ years with care | $180 to $400+ | Daily riders, touring, all-weather |
| Top Grain | 1.0 to 1.4 mm | 5 to 8 years | $120 to $250 | Regular riders, commuters |
| Split Leather (suede) | 0.8 to 1.2 mm | 2 to 4 years | $80 to $160 | Casual riding, shows, short rides |
| Bonded Leather | 0.5 to 0.8 mm | 6 to 12 months | $40 to $90 | Not recommended for riding |
Full grain is the outer surface of the hide with no sanding or buffing. It shows natural texture, small scars, and pore marks. This is the strongest option because the fiber structure is intact. Brands like Chippewa and Red Wing use full-grain cowhide in the 1.4 mm range for their work and riding boots.
Top grain has been sanded lightly to remove imperfections, then coated with a finish. It is slightly thinner and more uniform in color. Most mid-range leather biker boots use top grain. It holds up well for years but will not develop the same deep patina as full grain.
Split leather is the inner layer of the hide, left after the top grain is removed. It is softer and more porous. Suede is split leather with a napped finish. It looks good but absorbs water quickly, stains easily, and wears through faster than top grain. Not ideal for daily riding.
Bonded leather is shredded leather fiber glued together with polyurethane and pressed into sheets. It is not really leather in any functional sense. It peels, cracks, and offers almost no abrasion protection. If a listing says "genuine leather" or "bonded leather" without specifying full grain or top grain, assume it is the cheapest option available.
How to Tell if Leather Biker Boots Are Real
You cannot always trust the label, especially when buying online. Here are four checks that work.
The thumb test. Press your thumb firmly into the surface. Full-grain and top-grain leather will wrinkle around the pressure point and spring back when you release. Synthetic and bonded leather stay smooth under pressure or crease in a straight line, like cardboard.
The edge test. Look at the top edge of the boot shaft or the edge of the tongue. Real leather shows a rough, fibrous cross-section. Synthetic shows a smooth, layered edge, sometimes with a visible fabric backing.
The smell test. Real leather has a distinct, slightly earthy smell. Synthetic materials smell like plastic or have no smell at all. This is harder to use when ordering online, but it is the fastest check in a store.
The water test. Put a single drop of water on the surface. Full-grain leather absorbs it slowly, darkening the spot. Coated synthetic repels the drop completely, and it beads up and rolls off. Top-grain leather with a heavy finish will also repel water initially, so combine this test with the thumb test for a definitive answer.
When shopping online, look for product descriptions that specify "full-grain cowhide" or "top-grain leather" with a stated thickness in millimeters. Listings that say "leather upper" without specifying the type are usually hiding split or bonded leather. The leather motorcycle boots collection at American Legend Rider lists the leather type for every pair.

What to Look for When Buying Leather Motorcycle Boots
Leather type is the starting point, but five other features separate a good riding boot from a fashion boot that happens to be made of leather.
Sole Construction
A Goodyear welt or Blake stitch attaches the sole to the upper with thread, which can be re-soled when the rubber wears down. Cemented (glued) soles are cheaper but cannot be repaired, and the adhesive weakens with heat from exhaust pipes and hot pavement. Most boots under $100 use cemented construction. For riding, a stitched sole is worth the premium because it survives thousands more miles.
Ankle Support and Shift Padding
A motorcycle boot needs a rigid ankle cup or internal ankle armor. Without it, the boot folds on impact. Look for CE-rated ankle protectors, or at minimum a reinforced heel counter and toe box. The top of the left boot (or both boots on bikes with heel-toe shifters) should have a shift pad, either built in or reinforced, to protect the leather from gear changes. A rider who shifts 200 times on a single ride will wear through unpadded leather in a few months.
Height
A proper leather biker boot covers the ankle bone completely. Most riding boots stand 7 to 10 inches tall. Anything shorter than 7 inches leaves the ankle exposed to exhaust burns and road debris. The motorcycle boots buying guide breaks down height options by riding style.

Breaking In Leather Biker Boots the Right Way
New full-grain leather boots are stiff. Forcing them on a long ride before breaking them in causes blisters, heel slip, and cramps. Here is the process that works without damaging the leather.
- Condition first. Apply a thin coat of Lexol leather conditioner or mink oil to the entire boot before the first wear. This softens the fibers slightly and prevents cracking during the break-in stretch. Avoid petroleum-based products, which clog the pores and reduce breathability.
- Short sessions. Wear the boots around the house or on short errands for 30 to 45 minutes at a time. Walk on different surfaces, flex your ankles, and go up stairs. Do this for five to seven sessions before your first ride.
- Thick socks. Wear a heavier wool or merino sock during break-in. The extra padding fills the gaps between your foot and the stiff leather, reducing friction. After the boots conform, you can switch to your normal riding socks.
- Flex the shaft. Bend the boot shaft forward and backward by hand, 20 to 30 times. This loosens the leather around the ankle, where most new boots pinch. Do not use a boot stretcher on motorcycle boots. Stretchers widen the toe box but do not address the ankle and instep, which are the actual tight spots on riding boots.
- Ride short, then long. Your first ride in new boots should be under an hour. Check for hot spots when you stop. If a spot is rubbing, apply moleskin or a bandage and continue breaking in with short rides until the leather gives.
Most full-grain leather biker boots need 30 to 50 hours of wear before they feel fully broken in. Top-grain boots break in faster, usually within 15 to 25 hours, because the sanded surface is slightly softer from the start.
Caring for Leather Motorcycle Boots So They Last
Leather is skin. It dries out, cracks, and deteriorates without maintenance. A 5-minute cleaning routine after wet rides and a monthly conditioning session will keep a good pair of leather biker boots in riding condition for a decade or longer.
After every wet ride: Wipe off mud and road grime with a damp cloth. Stuff the boots with newspaper or boot trees to absorb moisture and hold the shape while they dry. Never put leather boots near a heater, radiator, or in direct sunlight to dry. High heat shrinks the fibers and causes permanent cracking.
Monthly: Clean with a leather-specific cleaner (Saddle Soap or Lexol cleaner), then apply a conditioner. Work it into the seams and the flex points around the ankle and toe box, where the leather takes the most stress.
Seasonally: Apply a waterproofing wax like Obenauf's LP or SNO-SEAL to the entire boot if you ride in rain. Wax fills the pores and creates a water barrier without blocking breathability the way silicone sprays do. One application of Obenauf's LP lasts roughly 3 to 4 months of regular riding.
5 Common Mistakes When Buying Leather Biker Boots
- Buying "genuine leather" without checking the grade. "Genuine leather" is a legal term that includes bonded and split leather. It does not mean full grain or top grain. Sellers use it because it sounds reassuring. Always look for the specific grade. If the listing does not name it, the grade is almost certainly the lowest they could get away with.
- Choosing fashion boots over riding boots. A Chelsea boot made of great leather still has no ankle armor, no shift pad, no oil-resistant sole, and no heel that grips a peg. Fashion boots are designed for walking, not for controlling a motorcycle at 60 mph. Use riding-specific boots for the bike and save the fashion leather for the bar afterward.
- Ignoring sole type. A smooth leather sole looks classic but has zero grip on wet pavement or oily garage floors. Motorcycle boots need rubber or Vibram-type outsoles with grooves for traction. A smooth sole on rain-slick concrete at a gas station is a good way to drop a bike at zero miles per hour.
- Skipping waterproofing. Untreated leather soaks up water on the first wet ride. Wet leather stretches, loses shape, and develops mold if it does not dry properly. A $12 tin of Obenauf's LP prevents this entirely and lasts for months. The badass biker boots guide covers waterproof options in detail.
- Buying too tight because "leather stretches." Leather does stretch, but only in width, not in length. A boot that pinches your toes will never get longer. It will only get slightly wider across the ball of the foot. Buy boots that fit your foot length from day one and let the width break in naturally.
If you are looking for leather biker boots that use real full-grain or top-grain leather with proper riding construction, the leather motorcycle boots collection is where to start. Every pair lists the leather type, sole construction, and shaft height so you know exactly what you are getting.

No comments yet. Be the first rider to weigh in.