
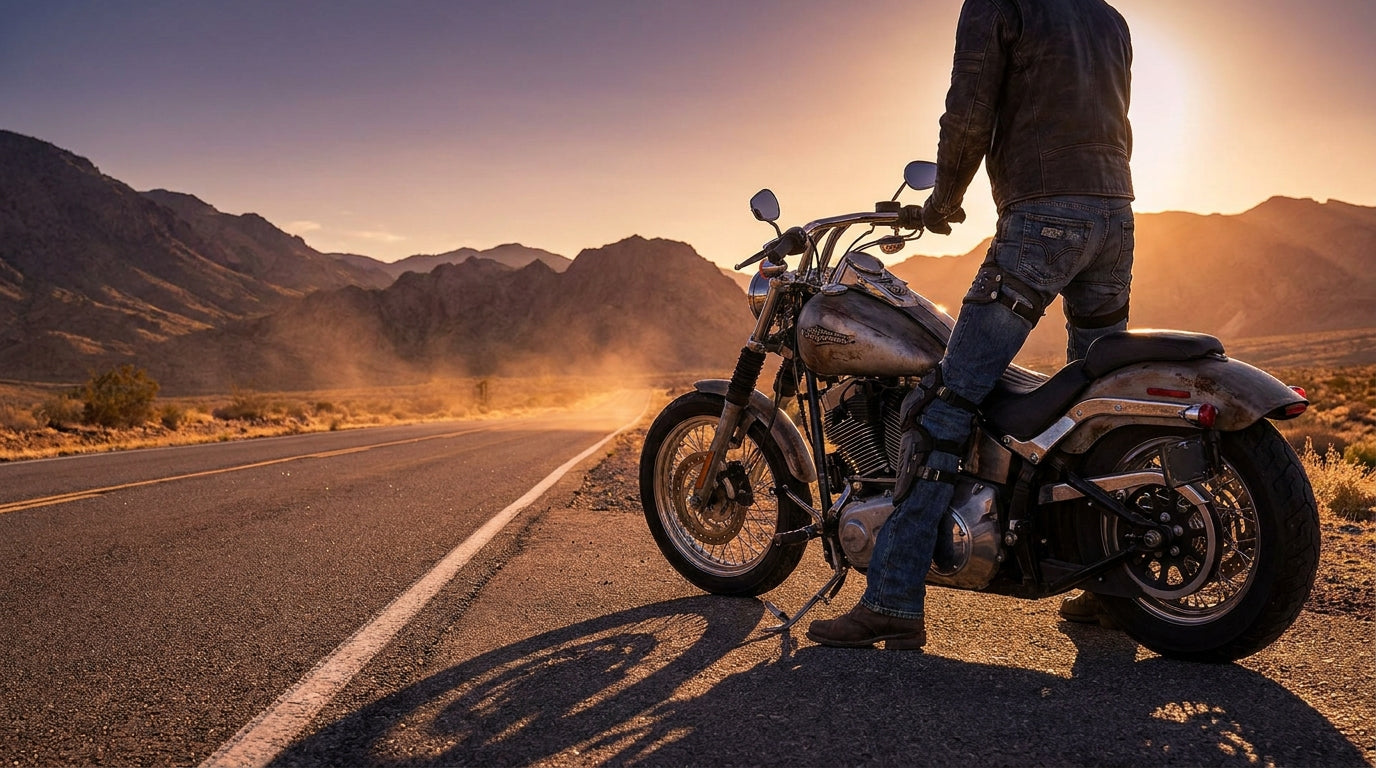
A rider wearing standard denim goes down at 35 mph on a left turn. The jeans shred through in under a second, leaving road rash across the knee and outer thigh that takes three weeks to heal. Another rider in the same group, wearing textile motorcycle pants with CE knee armor, slides the same distance. The outer shell scrapes but holds. The knee armor absorbs the impact. Both riders walked away, but only one was back on the bike that weekend.
This guide covers what riders need to know about motorcycle pants: materials, CE armor ratings, correct armor placement, fit, and what to buy for different riding styles. The right pair of riding pants is the most overlooked piece of gear in a rider's kit, and the one that makes the biggest difference when the pavement gets close.
Why Regular Jeans Fail on a Motorcycle
Standard cotton denim has an abrasion resistance of roughly 0.6 seconds at 30 mph, according to testing by the Motorcycle Accidents In-Depth Study (MAIDS) conducted across five European countries. That means a pair of off-the-rack Levi's 501s will wear through to skin in less than a second during a low-speed slide. At highway speed, the fabric is gone almost instantly.
Leg injuries account for roughly 30% of all motorcycle crash injuries, based on data from the National Highway Traffic Safety Administration (NHTSA). The knee and thigh take the worst of it because they are the first contact point in most low-side crashes. Road rash on the knee joint can require skin grafts and months of recovery. A pair of motorcycle pants with CE Level 1 knee armor and an abrasion-resistant shell reduces that risk to a bruise or nothing at all.
The gap between jeans and proper riding pants is not about comfort or style. It is about how many seconds of slide protection you get before fabric fails. Good motorcycle pants start at 4 seconds of abrasion resistance. High-end racing leather can exceed 8 seconds. Even budget-friendly Kevlar-lined jeans offer 2 to 3 seconds, which is four to five times better than raw denim.

Motorcycle Pants Materials: Leather, Textile and Kevlar Compared
Three main materials dominate the riding pants market. Each has a clear use case, and the best choice depends on how and where you ride.
| Material | Abrasion Time (30 mph) | Airflow | Weight | Best For |
|---|---|---|---|---|
| Full-grain cowhide leather (1.2 mm+) | 6 to 8+ seconds | Low | Heavy | Sport, track, cruiser highway |
| Textile (Cordura 600D+) | 4 to 6 seconds | High (vented) | Light | Touring, commuting, summer |
| Kevlar-lined denim | 2 to 4 seconds | Moderate | Medium | Casual riding, short commutes |
| Mesh/summer textile | 1 to 2 seconds | Maximum | Very light | Low-speed city riding in heat |
Leather remains the gold standard for slide protection. A pair of 1.2 mm full-grain cowhide pants from a brand like Schott or Vanson will outlast everything else in a crash. The trade-off is weight, heat retention, and break-in time. Most leather riding pants weigh 4 to 6 pounds, compared to 2 to 3 pounds for textile. Leather works best for riders who prioritize maximum protection and ride in cooler weather or at highway speed.
Textile pants built from Cordura 600D or higher are the most versatile option. Brands like Rev'It and Klim use multi-layer textile construction with removable waterproof liners and zip-open vents. A pair of Rev'It Tornado 4 H2O pants, for example, uses 600D Cordura with a Hydratex waterproof membrane and CE Level 1 knee armor included. Textile is the go-to for riders who commute daily, tour long distances, or ride through mixed weather.
Kevlar-lined denim looks like regular jeans but adds a layer of aramid fiber (DuPont Kevlar or similar) behind the knees, hips, and seat. Brands like Saint and Pando Moto offer single-layer options where the Kevlar is woven directly into the denim. These pants bridge the gap between street style and crash protection, but they are not a substitute for full leather or heavy textile on the highway. For casual rides under 45 mph, Kevlar denim is a solid middle ground.
How CE Armor Works in Motorcycle Pants
CE (Conformité Européenne) certification is the standard that separates real armor from foam padding that looks like armor. There are two levels that matter for motorcycle pants.
CE Level 1 (EN 1621-1) absorbs impacts up to 35 kN of transmitted force. This is the baseline for knee and hip armor in most riding pants. A Level 1 protector typically measures 10 to 15 mm thick and weighs 80 to 150 grams per piece. For daily commuting and street riding, CE Level 1 armor is adequate protection.
CE Level 2 (EN 1621-1) absorbs impacts down to 20 kN of transmitted force, roughly 40% more protection than Level 1. Level 2 armor is thicker (15 to 25 mm) and heavier, but the difference in a real crash is significant. Riders who spend time at highway speed or on twisty mountain roads should prioritize Level 2 knee armor at minimum.
Where Knee and Hip Armor Should Sit
Armor placement matters as much as the armor rating. A CE Level 2 knee protector does nothing if it sits 3 inches below your kneecap because the pants are too long. The center of the knee armor should align with the center of your patella when you are seated on the bike in riding position, not when standing upright. Most quality motorcycle protective gear uses adjustable armor pockets that let you slide the protectors up or down to match your leg length.
Hip armor should sit directly over the greater trochanter, the bony knob on the outside of your upper thigh. In a low-side crash, this is one of the first impact points. Many budget pants include CE hip armor. Higher-end pants from brands like Alpinestars use D3O or similar smart foam that stays flexible during riding and hardens on impact.

How Motorcycle Pants Should Fit
Riding pants fit differently than regular pants. The cut is designed for a seated riding position, which means the waist may feel slightly loose when standing and the knees may feel tight. That is intentional. A proper fit has three checkpoints.
Waist. The waistband should sit at your natural waist without a belt. Most riding pants use hook-and-loop or snap adjusters on the sides for fine-tuning. If the waist is more than one inch too large, the hip armor will shift out of position during a slide. A 34-inch waist rider should try a 34 in riding pants, not size up to a 36 for comfort.
Inseam and knee. With the pants on, sit on a chair or your bike and check that the knee armor centers on your kneecap. If the armor sits above or below the knee, try a different inseam length. Many textile pants offer short, regular, and tall inseam options. Leather pants can be hemmed by a leather tailor for $20 to $40.
Boot overlap. The bottom of the pants should overlap your motorcycle boots by at least 2 to 3 inches. Riding pants that ride up above the boot top expose the ankle and lower shin. Pants with internal boot stirrups or zipper closures at the cuff hold the overlap in place at highway speed. Some riders pair riding pants with tall boots (10 to 14 inches) for full lower-leg coverage.
Best Motorcycle Pants for Different Riding Styles
No single pair of pants works for every type of riding. Here is a quick breakdown by riding style.
| Riding Style | Best Material | Armor Level | Key Feature |
|---|---|---|---|
| Cruiser/highway | Leather or heavy textile | CE Level 2 knee, CE Level 1 hip | Wind resistance, slide protection |
| Daily commute | Textile with waterproof liner | CE Level 1 knee and hip | Weather versatility, visibility |
| Summer/hot weather | Vented textile or mesh | CE Level 1 minimum | Airflow, lightweight |
| Casual/short rides | Kevlar-lined denim | CE Level 1 knee (optional hip) | Street style, walkability |
| Track/sport | Full leather (1.3 mm+) | CE Level 2 knee, hip, and tailbone | Maximum slide time, pre-curved fit |
Cruiser and touring riders who log hundreds of highway miles should lean toward leather or heavy Cordura textile. The extra weight pays off in wind resistance and slide protection at speed. Leather chaps worn over jeans are another option for cruiser riders who want protection without switching to full riding pants, though they leave the inner thigh and groin area exposed.
Commuters need weather versatility. A pair of textile pants with a removable waterproof liner and zip-open vents covers hot mornings and wet afternoons without a gear change. Look for reflective panels or piping on the lower legs for visibility in traffic.
Casual riders who just want something better than jeans should start with Kevlar-lined denim. A pair from Bull-it or Pando Moto costs $150 to $250, looks normal enough to wear into a restaurant, and adds meaningful protection at city speeds. Adding aftermarket CE knee armor inserts costs another $20 to $40 and turns casual denim into legitimate riding gear.

5 Common Mistakes When Buying Motorcycle Pants
1. Buying pants without CE-rated armor. Some pants include foam knee pads that feel like protection but carry no CE rating. If the label does not say "CE EN 1621-1 Level 1" or "Level 2," it is not certified armor. Uncertified foam compresses on impact and transfers force directly to the joint. Always check the tag or product listing for the CE designation before buying.
2. Sizing for standing instead of riding. A pair of riding pants should feel slightly snug at the knees and relaxed at the waist when seated. Riders who size up for standing comfort end up with armor that shifts out of position on the bike. If you buy online, sit on a chair and check armor placement before cutting the tags.
3. Ignoring hip armor. Many riders focus on knee protection and skip the hips. In a low-side crash, the hip hits the ground almost as often as the knee. A fractured greater trochanter is a serious injury that can take 6 to 12 weeks to heal. Pants with both knee and hip armor cost $30 to $60 more than knee-only models. That is a small price for a bone you use every time you walk.
4. Wearing mesh pants on the highway. Mesh motorcycle pants maximize airflow and feel great in city traffic at 25 mph. On the highway at 65 mph, most mesh panels offer under 2 seconds of abrasion protection. Mesh is designed for low-speed, high-heat conditions. For highway riding, stick with textile or leather.
5. Not connecting pants to the motorcycle jacket. Most quality riding pants have a zipper or snap system that connects to a matching jacket at the waist. This keeps the two pieces from separating in a crash, which prevents the jacket from riding up and exposing the lower back and kidneys. If your pants and jacket are from different brands, aftermarket connection zippers cost $10 to $15 and a tailor can install them for another $15 to $20.
Where to Start Shopping for Motorcycle Pants
Start by deciding your material based on riding style, then check for CE-rated armor at the knee and hip. Fit the pants in riding position and make sure the armor sits where it should. If you are on a budget, Kevlar-lined denim with aftermarket CE knee inserts is the fastest way to upgrade from regular jeans without spending $300 or more.
For riders building a full gear setup, pair riding pants with proper boots, gloves, and a jacket that zips to the waist. The ALR protective gear collection is a good starting point for riders who want real protection without overpaying. One quality setup that fits right and holds up in a crash is worth more than three cheap pieces that fail when they matter most.

No comments yet. Be the first rider to weigh in.